


Maintenance FAQ: The SD61H-P61 Self-Seal Ring—Why Your Blocking Valve Still Leaks After You Fixed It
In 300MW to 600MW power plants, the valves on your superheaters and reheaters have to be 100% tight for water tests and safe runs. We see a lot of guys on the forums complaining that they keep swapping the SD61H-P61 self-sealing ring, but the valve still leaks.
Most of the time, the seal itself is fine. The real problem is usually the backing ring or the six-segment split ring. If the assembly order or the gaps are even slightly off, it doesn't matter how many new seals you throw at it—it's going to leak. This FAQ breaks down how to actually get it right the first time.
I. The Basics: How it Works
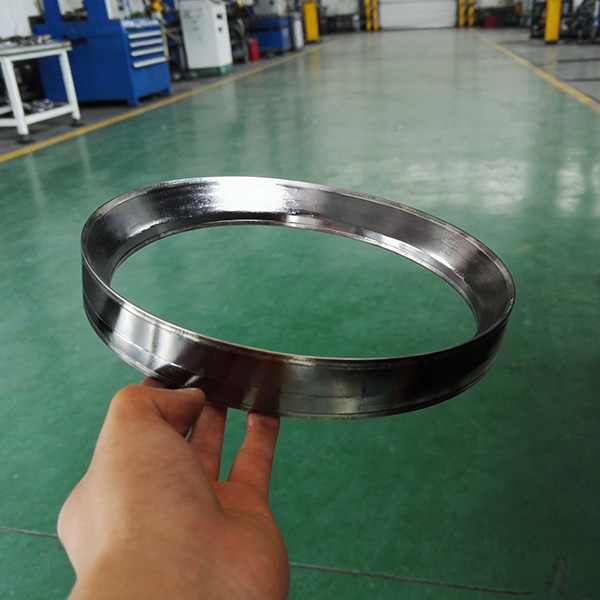
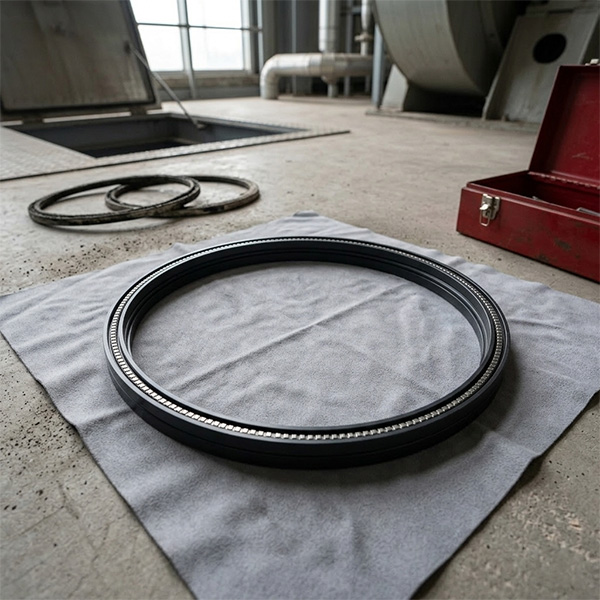
Q1: What is the deal with the SD61H-P61 ring?
A1: It's made for high heat (up to 560°C) using flexible graphite and a stainless steel frame. The best part is it's self-tightening. That means as the steam pressure goes up, the seal actually squeezes harder against the metal. But, this only works if the other parts around it are installed perfectly.
Q2: What do the other rings do?
A2: Think of it as a team:
- The Seal (SD61H-P61): Does the actual work of stopping the steam.
- The Backing Ring: Sits on top of the seal to keep it flat and stop it from getting squashed out of shape by high pressure.
- The Six-Segment Split Ring: Holds the whole valve bonnet in place. It has to allow the bonnet to move just a tiny bit so the self-tightening can kick in.
II. The Right Way to Put it Together
Q3: What is the correct assembly order?
A3: You have to go in this order: Seal → Backing Ring → Split Ring.
- Step 1: Lay the seal flat in the groove. Make sure it isn't wrinkled or tilted.
- Step 2: Put the backing ring on. Crucial Point: The top of the backing ring needs to be about 2mm lower than the bottom of the split ring groove. If this gap is wrong, the valve won't seal properly.
- Step 3: Put the split rings in. Make sure they are level.
Q4: Why are there numbers on the six split rings?
A4: Because they aren't all exactly the same size. If you mix up the numbers, the surface will be uneven. That makes the valve bonnet tilt, which crushes one side of your expensive seal and causes a leak. Always put them back in the same spot they came from.
III. Fixing Problems (When things go wrong)
Q5: We just did a water test and it's leaking. Why?
A5: 90% of the time, it's not a bad seal. Check these:
- Did you mix up the numbered split rings?
- Is that 2mm gap correct? Use a depth gauge to be sure.
- Is the valve bonnet stuck? It needs to be able to float a little bit.
Q6: We found the seal edge was crushed and squeezed out. Why?
A6: Usually, this means the backing ring gap was too small (less than 1.5mm) or the bonnet was jammed. When the pressure hits, if the bonnet can't move naturally, it just mangles the graphite seal.
Q7: The groove has a tiny scratch. Do I need a new valve?
A7: Not always. If the scratch is shallow (less than 0.2mm), you can sand it smooth with fine sandpaper (800 grit or higher). Then use a little high-temp sealant. But if it's deep, you'll need to weld and grind it back to flat.
IV. Spares and Tips
Q8: Can I use a off-brand or non-standard seal?
A8: Don't do it. If the size or the graphite quality is off, the self-tightening won't work. You'll end up taking the whole thing apart again in a week, which costs way more than just buying the right part.
| Part Name | What it's for |
|---|---|
| Manhole Seals | High-temp seals for boiler doors. |
| U-Tubes | Connections for the rear superheater. |
| Wear Shields | To stop ash from eating through your tubes. |
| Observation Port | So you can actually see what's happening inside. |
Expert Summary:
1. Clean everything: One piece of grit can ruin the seal.
2. Number your rings: Don't play guess where this goes with the split rings.
3. Check the 2mm gap: This is the most common mistake in the industry.
Dongfang SRI Technical Support | Reference: SD61H-FAQ-2026
HKCYT-2026-01-06


-
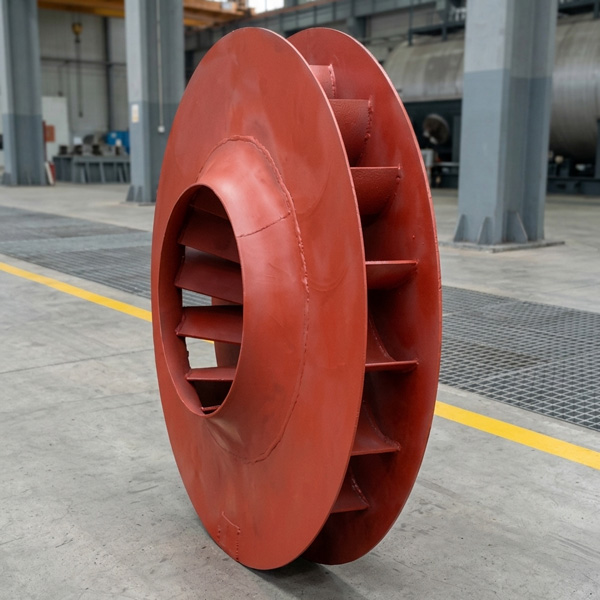
Looking at Abnormal Wear on U250-Y01 Induced Draft Fan Moving Blades
Understand why U250-Y01 induced draft fan blades wear out and how to maintain mechanical linkages. We provide U250-Y01 blades, seals, and connecting rods.03-23
-
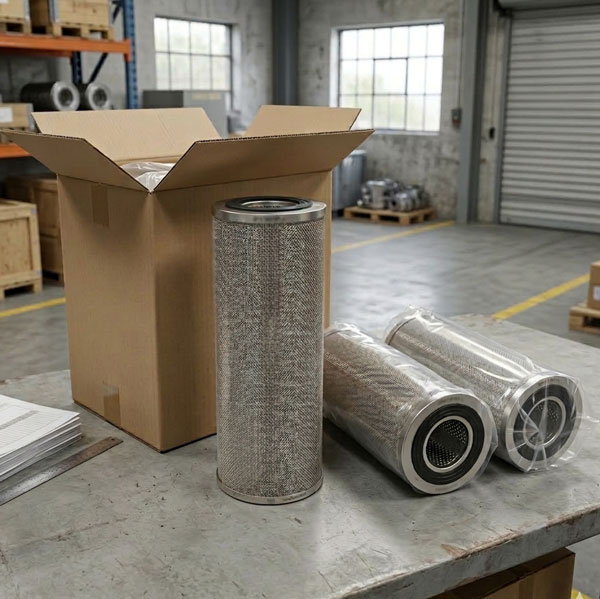
Easy Maintenance with the SDGLQ-60T-36K Duplex Oil Filter for Coal Mills
Learn how to switch the SDGLQ-60T-36K duplex filter element without stopping your coal mill. No oil flow interruption, stable pressure, and zero bypass. Get a quote today.03-17
-
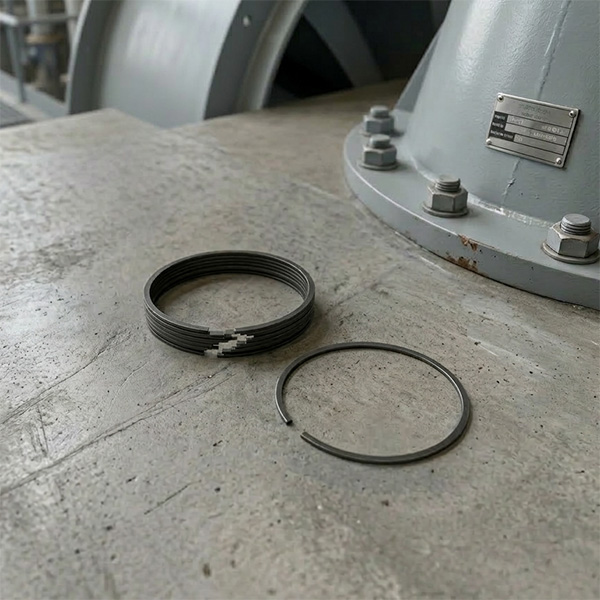
Keeping Your ID Fan Safe with the U2616G2106Y01 Blade Seal Ring
Protect your HU25042-221G fan with the U2616G2106Y01 blade seal ring. Learn how multi-stage sealing prevents bearing jams, blade sticking, and fan stalls.03-12
-
Stopping Oil Leaks with the UYG35/20G010 ID Fan Seal Ring
Stop bearing box leaks with the UYG35/20G010 ID fan seal ring. Learn how gap control and thermal expansion prevent grip failure in induced draft fan spare parts.03-11
-

How to Detect Micro Leakage in Feed Water Pump Gasket FA1D56-03-09 Before It Causes Shutdown
Learn the common failure modes of feed water pump cooling water jacket sealing gasket FA1D56-03-09, including aging, creep relaxation, and mechanical damage. Understand external signs, micro leakage detection methods, and practical maintenance tips to prevent pump shutdown and reduce repair cost.03-02


