


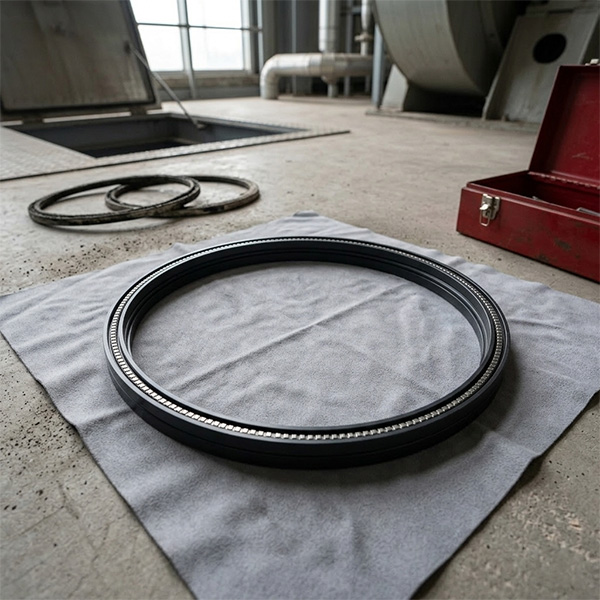
HPT200-300-05-01A-00 Oil Seal Assembly: Tips for Stopping Leaks After a Swap
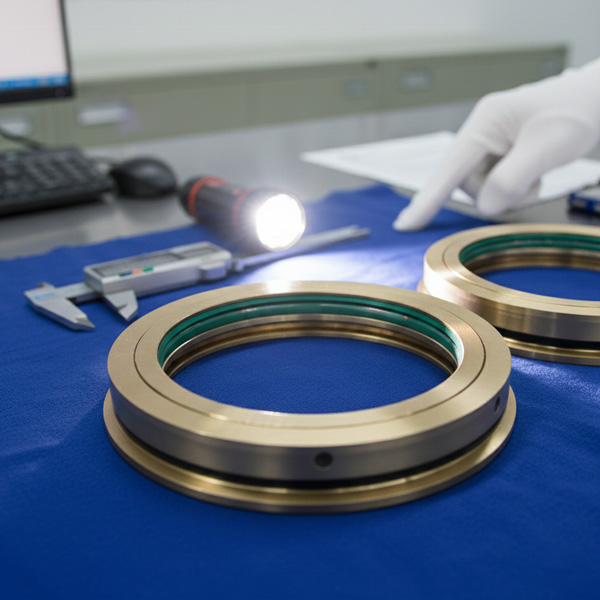
The HPT200-300-05-01A-00 oil seal assembly is the main part that stops oil from spraying out of your feedwater pump shaft. Most leaks come from a bad install. If you don't put the new one in exactly right, it will start dripping again fast. This messes up your pump, gets the oil dirty, and ruins other parts. If you learn the right way to do it and avoid common mistakes, the HPT200-300-05-01A-00 oil seal assembly will stay dry and do its job for a long time.
1. Before the Swap: Getting Things Ready
Check your numbers first. You must use an original HPT200-300-05-01A-00 oil seal assembly. If the size is off by even a tiny bit, it won't fit the shaft right and will leak. Cheap off-brand seals almost always have these size problems.
Clean the area well. Rub off all the old grease, rust, and metal bits from the shaft and the hole. Any dirt left behind will scratch the seal lip and make a leak path. If the shaft has small nicks, polish them down so there are no sharp edges to cut the rubber. Also, look at the sleeves and rings. If they look worn, replace them too. The HPT200-300-05-01A-00 oil seal assembly works best when the surrounding parts are also in good shape.
2. The Install: Getting the Details Right
Watch the direction and the force you use. The seal lip has to point toward the oil side. Use a proper tool to press it in flat—don't just hit it with a hammer and don't let it go in crooked. If it gets bent, the seal won't touch the shaft evenly.
Put a little bit of lube on the seal lip before it goes in. This stops it from getting "burned" or torn during the first spin. Never install it bone-dry, or the lip will wear out immediately. After it is in, turn the shaft by hand. It should feel smooth and you shouldn't hear any weird rubbing sounds.
The HPT200-300-05-01A-00 oil seal assembly depends on these other parts to stay dry. Using original specs helps a lot:
| Part Name | Model / Specification |
|---|---|
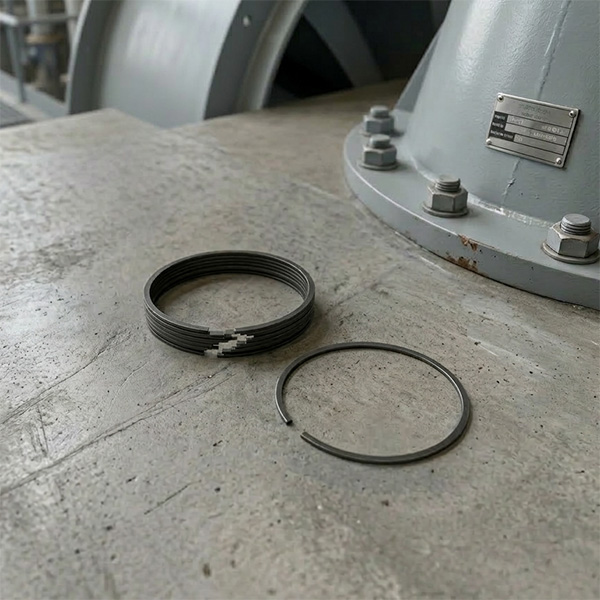
| Seal Retaining Ring | DG750-180M02(2) |
| Pump Body Seal Ring | FK6D32 |
| Shaft Sleeve | HZB253-640-01-06 |
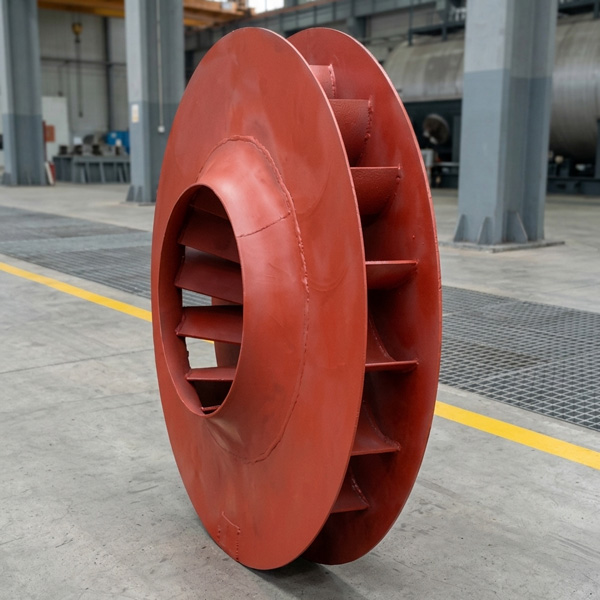
| Guide Vane | FT10QA38M-04-01 |
| Last Stage Guide Vane | FT9Q36M-04-02 |
| Locking Washer | FK5G32-03-13 |
| Last Stage Guide Vane (Alt) | FT12R33M-04-04 |
| Thrust Bearing Oil Seal | HTHP-01-02-17-06 |
| Seal Gasket | HZB253-640 |
| Feed Pump Mechanical Seal | HPT200-330-6S |
| O-Ring Seal | DG600-240-07-01(18) |
If the sleeve is scratched or a ring is bent, the HPT200-300-05-01A-00 oil seal assembly will fail. We provide the whole set so everything fits perfectly.
3. Parts Matching: No "Close Enough" Spares
Change your O-rings and gaskets every time you open the pump. Old rubber gets hard and won't squeeze right. Even if they look okay, they might be dead.
The shaft sleeve surface is the most important thing. If it is rusty or has lines in it, get a new original sleeve before you put the seal on. A rough surface will sand down the seal lip in just a few days. Also, don't mix parts from different shops. A lock washer from somewhere else might be too thick or too thin, leaving a gap that lets oil through.
4. After the Job: Testing for Leaks
Don't just turn the pump on. Do a static test first. Fill the pump with oil and let it sit for a few hours. If you don't see any oil around the HPT200-300-05-01A-00 oil seal assembly, you did it right.
Next, do a slow run. Start the pump and slowly bring it up to speed. Watch the heat and look for drips. If it stays cool and dry, the job is a success. If it leaks even a little, stop and find out why before you run it at full load. We can come on-site to help with this final check if you need it.
5. Common Mistakes to Stop Making
Don't use too much sealant (glue). If the glue gets into the oil holes, it blocks the flow and can ruin the pump. Only use a tiny drop if the fit is loose.
Also, don't push the pump to 100% right away. The new seal needs a little time to "seat" itself. One more thing: check the shaft alignment. If the shaft is sitting crooked, it will mash one side of the HPT200-300-05-01A-00 oil seal assembly and it will start leaking within a week.
Conclusion: Do the Work Right, Stop the Leak
If your pump leaks after a repair, it's usually because of a small mistake or the wrong parts. If you clean it well, use the original HPT200-300-05-01A-00 oil seal assembly, and test it before going to full power, it will stay dry.
Need an original HPT200-300-05-01A-00 oil seal assembly, sleeves, or installation help? Contact Dongfang SRI now. We have the parts and the tech advice to help you stop those leaks once and for all.
HKCYT-2026-01-28


-
Looking at Abnormal Wear on U250-Y01 Induced Draft Fan Moving Blades
Understand why U250-Y01 induced draft fan blades wear out and how to maintain mechanical linkages. We provide U250-Y01 blades, seals, and connecting rods.03-23
-
Easy Maintenance with the SDGLQ-60T-36K Duplex Oil Filter for Coal Mills
Learn how to switch the SDGLQ-60T-36K duplex filter element without stopping your coal mill. No oil flow interruption, stable pressure, and zero bypass. Get a quote today.03-17
-
Keeping Your ID Fan Safe with the U2616G2106Y01 Blade Seal Ring
Protect your HU25042-221G fan with the U2616G2106Y01 blade seal ring. Learn how multi-stage sealing prevents bearing jams, blade sticking, and fan stalls.03-12
-
Stopping Oil Leaks with the UYG35/20G010 ID Fan Seal Ring
Stop bearing box leaks with the UYG35/20G010 ID fan seal ring. Learn how gap control and thermal expansion prevent grip failure in induced draft fan spare parts.03-11
-

How to Detect Micro Leakage in Feed Water Pump Gasket FA1D56-03-09 Before It Causes Shutdown
Learn the common failure modes of feed water pump cooling water jacket sealing gasket FA1D56-03-09, including aging, creep relaxation, and mechanical damage. Understand external signs, micro leakage detection methods, and practical maintenance tips to prevent pump shutdown and reduce repair cost.03-02


