


Feed Water Pump Guide Vane DG600-240-04-13 Maintenance Tips & Parts Checklist
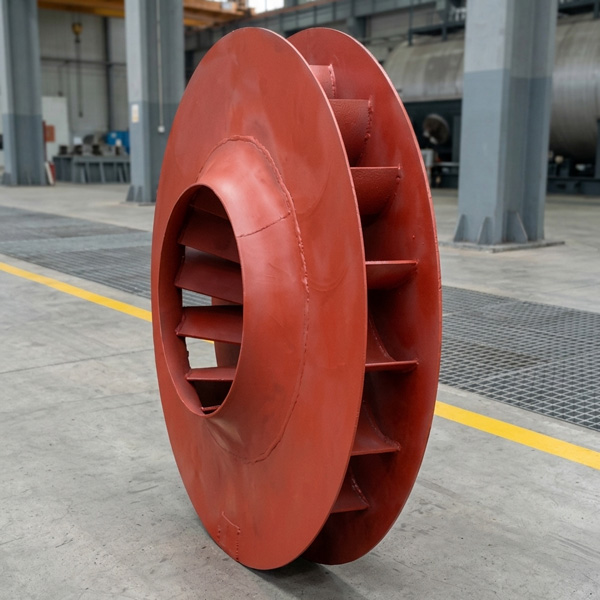
In a large power plant, the steam-driven feed water pump is what keeps the whole generation cycle moving. The Guide Vane DG600-240-04-13 is the heart of that energy conversion; its job is to turn the kinetic energy of the water into pressure and direct the flow perfectly into the next stage impeller.
This specific model is built for 300MW, 600MW, and larger units. If the vane's shape is worn down or pitted by cavitation, the pump's efficiency will tank, and the lifespan of the entire unit will be cut short. During an overhaul, checking this guide vane for wear is the single most important way to tell if your pump is healthy or failing.

Why the Material and Design Matter
The DG600-240-04-13 is cast from high-quality, low-carbon martensitic stainless steel. This isn't just a fancy name; this material is chosen because it has to live in a world of high temperature, high pressure, and incredibly fast water flow.
Even under constant "sandblasting" from high-velocity water, it stays structurally stable. It doesn't warp or crack easily. If you ignore even tiny pits or scratches on the vane, the water flow becomes turbulent, which messes with the impeller's work and causes the whole pump to vibrate.
The Maintenance Checklist: Don't Inspect the Vane Alone
You can't just look at the guide vane and call the job done. It works in a tight "neighborhood" of parts. If the bushings are worn or the pins are loose, even a brand-new guide vane won't work right. Here is what you need to check:
| Part Number | Part Name | Why it matters |
|---|---|---|
| DG600-240-01-07 | Bolt Protection Cap | Pull this first; it stops the main bolts from getting rusted or damaged. |
| DG600-240-01-03 | Stud Bolt | These hold the casing together; check for stretching or thread damage. |
| DG600-240IIM-04-01-00 | Main End Cover | Removing this is the only way to see the "guts" of the pump. |
| DG600-240-04-17 | Guide Vane Bushing | Critical: If the gap between the vane and bushing is too wide, replace it. |
| DG600-240-04-16 | Pump Casing Bushing | Protects the expensive main casing from direct wear. |
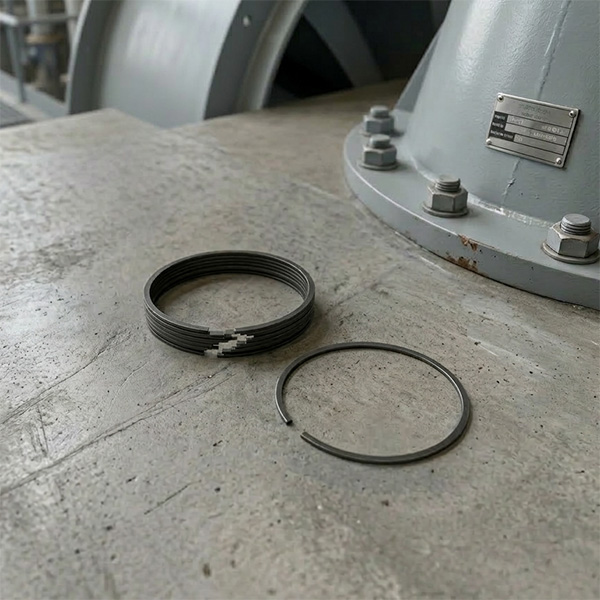
| DG600-240-07-01(3) | O-Ring | Always replace this. It stops leaks between stages. |
| DG600-240-04-27 | Cylindrical Pin | This aligns the vane perfectly with the casing. Don't skip it. |
The 6-Step Guide Vane Overhaul Process
- Preparation: Shut down the pump, lock out the power, and close the valves. Make sure the pressure is completely bled off. Clean the outside of the pump so dirt doesn't fall into the clean internals.
- Opening the Core: Follow the sequence: remove the protection caps, then the large stud bolts. Tip: Loosen the bolts in a "star pattern" to keep the pressure even.
- Inspecting the Vane and "Friends": Pull the DG600-240-04-13 Guide Vane. Look for "pitting" or thinning edges. Check the Guide Vane Bushing and Pump Casing Bushing for over-limit clearances.
- Cleaning: For any parts you plan to reuse, scrub off all scale, oil, and grit. Even a tiny piece of scale can throw off the alignment of the mating surfaces.
- The Re-Assembly: Use the Cylindrical Pin to lock the guide vane into its exact position. When you put the O-ring in, use a bit of sealing grease to ensure it sits flat.
- The Test Run: Fill the pump slowly, bleed the air, and start it up with no load. If the pressure and flow are steady and there are no leaks, you are good to go.
Maintenance Golden Rule: The quality of your guide vane overhaul decides how soon you'll have to take the pump apart again. Using original DG600-240-04-13 guide vanes and proper bushings is the only way to ensure the pump lasts until the next scheduled outage.
Dongfang SRI provides original DG600-240-04-13 guide vanes and the full kit—bushings, O-rings, pins, and all. Our technical team can even help you on-site to make sure the clearances are perfect.
HKCYT-2026-01-08


-
Looking at Abnormal Wear on U250-Y01 Induced Draft Fan Moving Blades
Understand why U250-Y01 induced draft fan blades wear out and how to maintain mechanical linkages. We provide U250-Y01 blades, seals, and connecting rods.03-23
-
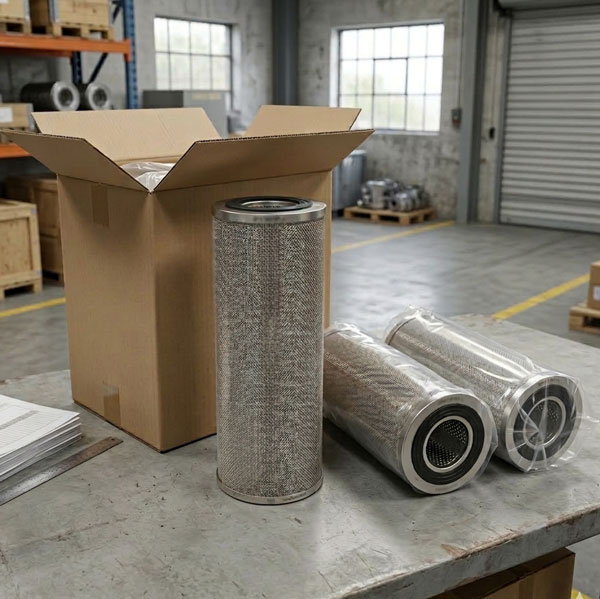
Easy Maintenance with the SDGLQ-60T-36K Duplex Oil Filter for Coal Mills
Learn how to switch the SDGLQ-60T-36K duplex filter element without stopping your coal mill. No oil flow interruption, stable pressure, and zero bypass. Get a quote today.03-17
-
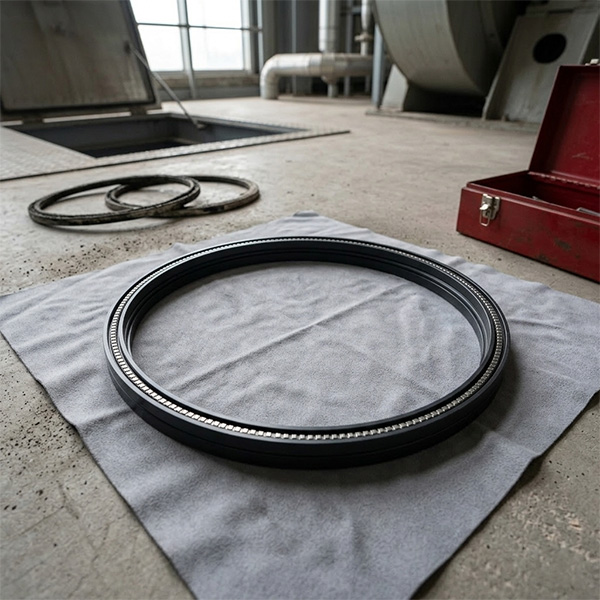
Keeping Your ID Fan Safe with the U2616G2106Y01 Blade Seal Ring
Protect your HU25042-221G fan with the U2616G2106Y01 blade seal ring. Learn how multi-stage sealing prevents bearing jams, blade sticking, and fan stalls.03-12
-
Stopping Oil Leaks with the UYG35/20G010 ID Fan Seal Ring
Stop bearing box leaks with the UYG35/20G010 ID fan seal ring. Learn how gap control and thermal expansion prevent grip failure in induced draft fan spare parts.03-11
-

How to Detect Micro Leakage in Feed Water Pump Gasket FA1D56-03-09 Before It Causes Shutdown
Learn the common failure modes of feed water pump cooling water jacket sealing gasket FA1D56-03-09, including aging, creep relaxation, and mechanical damage. Understand external signs, micro leakage detection methods, and practical maintenance tips to prevent pump shutdown and reduce repair cost.03-02


